Design-Time Functionality
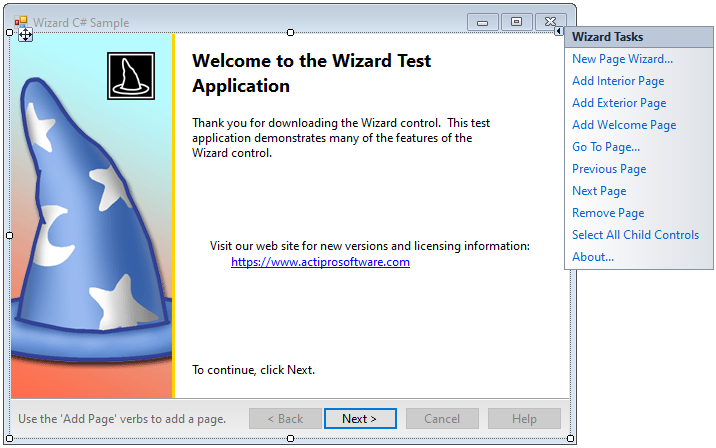
Wizard has a lot of designer functionality. In the designer, you can add/remove pages, configure each wizard page and the child controls on it, and even change the appearance of the wizard and its pages.
Note
See the Visual Studio Designer topic for details and requirements for designer functionality.
Adding and Configuring Pages
Pages represent each step in the wizard. To add a page while in the designer, right-click on the Wizard control and select either the Add Interior Page, Add Exterior Page, or Add Welcome Page actions.
For interior pages, it is important to set the PageCaption and PageDescription properties. These control the text that is set in the interior page header. If you are inheriting from a WizardDialogForm, you can set the PageTitleBarText property to control what text is automatically set in the title bar of the Form.
For welcome pages, it is important to set the WatermarkBackgroundFill, WatermarkImage, and WatermarkWidth properties.
Navigating through Pages at Design-Time
To move through pages at design time, you can do one of several things:
- Click on the Next and Back buttons on the wizard.
- Use the Next Page and Previous Page designer actions.
- Select the desired page in the Visual Studio Properties window.
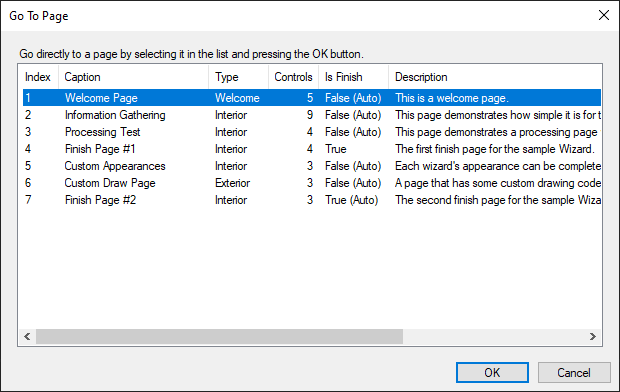
- Use the Go To Page... designer action to open the Go To Page dialog and navigate directly to a page.
- Double-click the Wizard or a WizardPage to open the Go To Page dialog and navigate directly to a page.
Using the Go To Page Dialog
The Go To Page dialog provides the best method for navigating directly to a page while in the designer. Access it by using the Go To Page... designer action or simply by double-clicking on the Wizard or a WizardPage control while in the designer. The dialog provides useful information about each page. By default, the current page is selected in the list. To navigate to a specific page, select it in the list and click the OK button.
Reordering Pages
To change the default sequence in which pages appear: